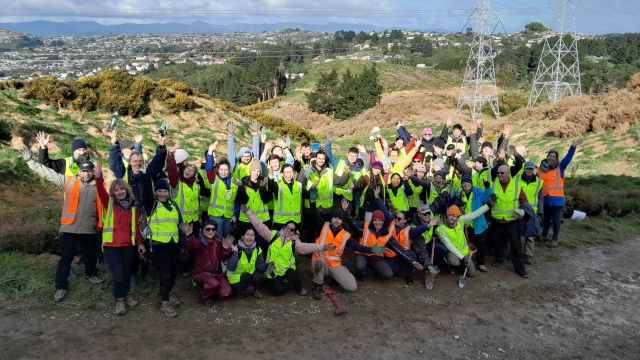
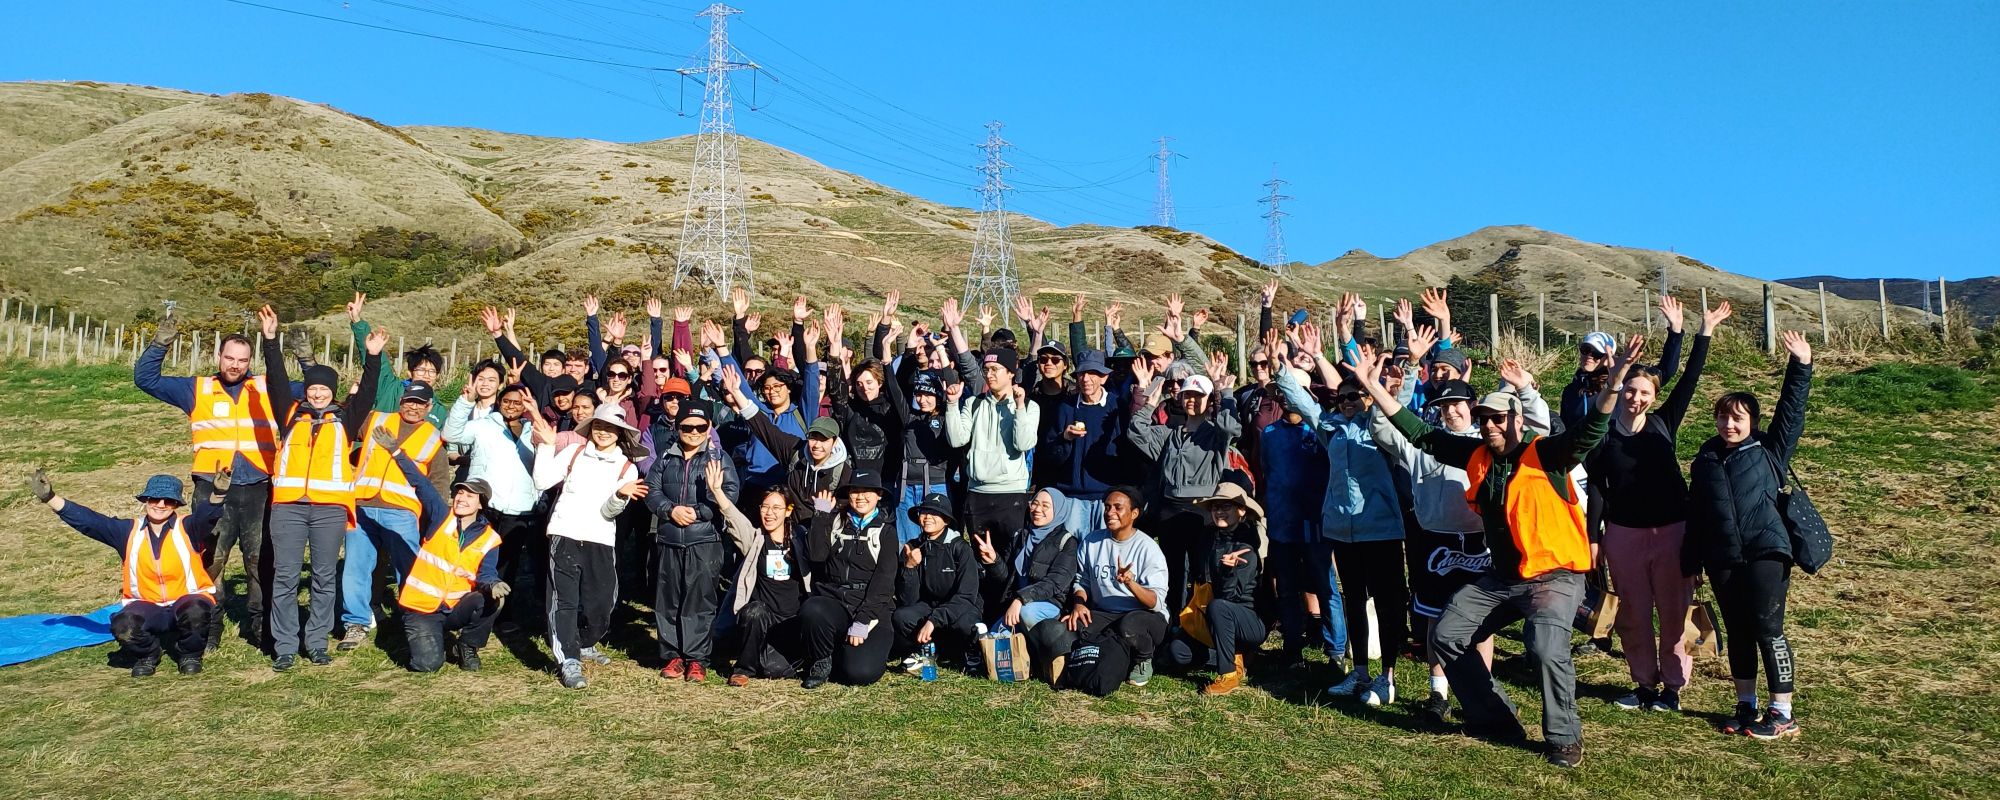
DIY beeswax wraps

Learn how to make your own beeswax food wraps that you can wash and use again and again.

Wax wraps are great for wrapping food and covering bowls, plates, sandwiches, and snacks. You can even use wraps to keep vegetables fresh longer, especially herbs and salads.

Wax wraps are ordinary fabric soaked in beeswax. You can use the warmth of your hand to soften the wax enough to bend and fold the fabric into any shape you desire. When your wrap needs a clean, use cool water and mild soap (they don’t like the heat). Then hang it up to dry.

See a video on cleaning wax wraps.

Oven method

  1. Preheat your oven to 90°C.
  2. If you are using one of our DIY Beeswax Wrap Kits, we recommend you cut the pellets into smaller pieces using a pair of scissors or a knife and chopping board.
  3. Cover your baking tray with baking paper, and place one piece of fabric down.
  4. Sprinkle the fabric with the beeswax—you won’t need too much as a little bit goes a long way. Cover the fabric as evenly as you can. You can always add more wax if you didn't use enough.
  5. Transfer the tray to the oven and allow the wax to melt. This will take around 6 to 10 minutes.
  6. Check that all the wax has melted and use a brush or fork to help sweep the wax to make sure that it is evenly distributed all the way to the edges and corners. Areas of fabric that are saturated with wax will appear a darker colour, so look for light patches. If needed, add more wax over these light patches and return it to the oven to melt for about 5 minutes, then check again.
  7. Peel the wax coated piece of fabric off the baking paper. Air it for a few minutes using a clothes peg, or hang it over a hanger or the back of a chair, or simply wave it about to allow the wax to harden.

Iron method

  1. Lay a sheet of baking paper on your work surface and place the fabric on top. Make sure you have a couple of centimetres of baking paper outside the edge of the fabric to catch any wax run-off.
  2. If you are using one of our Beeswax Wrap Kits, we recommend you cut the pellets into smaller pieces using a pair of scissors or a knife and chopping board.
  3. Evenly sprinkle the fabric with beeswax—remember, a little goes a long way.
  4. Lay another sheet of baking paper on top of the fabric.
  5. Set your iron to medium heat, dry setting (no steam) and iron the wrap. The baking paper will become translucent where the wax melts, making it easy to see if more is needed.
  6. Lift the baking paper and peel off the wrap, waving it about for a moment or two until the wax hardens.

Refresh your wraps

Cracks and folds will appear with repeated use. To refresh your wrap, simply re-coat it with beeswax using an oven or iron.

See videos on refreshing your wrap using an oven or using an iron.